What if you could perfectly visualize every material decision before committing—from backsplash tile layouts to mixed flooring transitions?
With MultiFinish (Pro feature) in Personal Architect Online, you’re no longer limited to one finish per surface. You can design, compare, and refine multiple materials in the same space—instantly. The MultiFinish tool in Personal Architect Online allows you to segment a wall into distinct regions, enabling the application of various finishes to different parts of the wall.
Why this matters?
Most design tools force you to guess:
- “Will this tile look right above the cabinets?”
- “How will hardwood transition into tile?”
MultiFinish removes the guesswork.


Personal Architect Online Pro using the multi finish tool lets you see:
See combinations side-by-side in real time
Test bold ideas without risk
Present polished, client-ready visuals
Watch the video below and read the transcript to see how you can leverage the multi-finish tool to take your designs to the next level and boldy try new finish materials.
Video Transcript
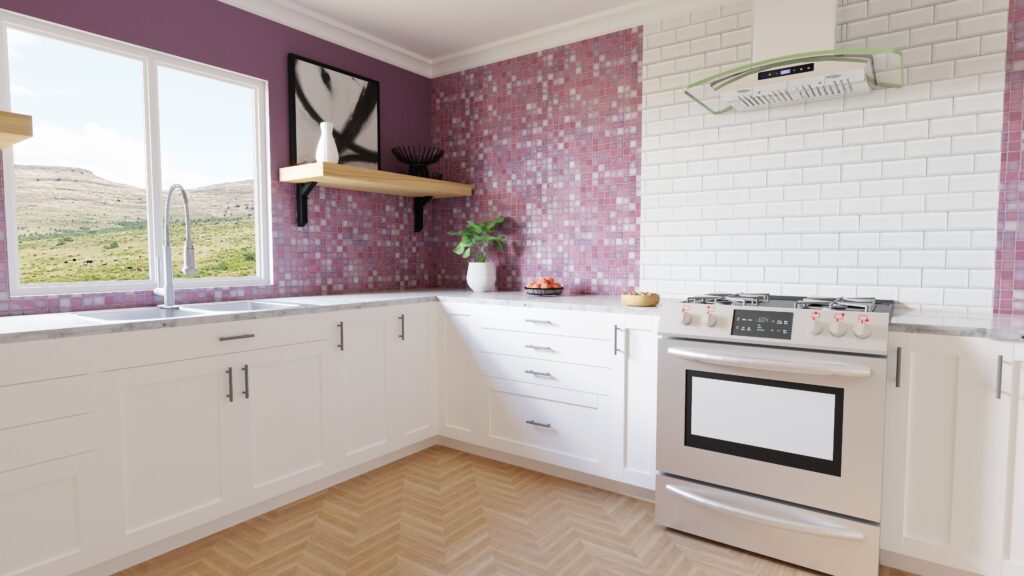
In this scenario, we aim to eliminate the tile from the area behind the cabinets and introduce playful decorative elements using diverse tile patterns in specific sections.
First, select the wall that you want to apply multiple finishes.
The MultiFinish tool will appear. 
Select it.
In MultiFinish mode, a wall elevation will appear. Tools beneath the elevation allow you to slice the wall horizontally and vertically.
I am going to select the horizontal slice tool.  A slice appears across the wall horizontally. I can move that slice until it is where I want it. I can also adjust the dimensions by double-clicking on the dimension I want to adjust and typing in a new dimension. Once the slice is where I want it, I select the check mark to confirm the slice.
It immediately lets me do another slice, which I can again adjust to any height that I want. When I have it where I want it, I click the confirmation tool again. So far, I have segmented so that the area behind the lower cabinets is one area, and the area above is another. I also added another slice beneath the lower cabinets.
I will add another horizontal slice about halfway up the window to add a decorative tile. Once I have the desired dimension, I confirm the location of the horizontal slice again by clicking on the check button.
Vertical slices are done the same way.  Select the vertical slice tool and move the vertical slice line to the position you want by either moving it or editing the dimensions. Once it is in position, confirm that you want to slice the wall by clicking the check icon.
The wall has now been divided into several separate areas. If you want to combine any areas, click the Stop button  to exit out of dividing and begin joining regions.
Select regions you want to join together, such as the area beneath the lower cabinets, with the same finish. Once they are all selected, confirm the selection by clicking the check mark. You can also join other regions.
Once all areas are created, click the Materials  applicator to apply the materials. Each area can have different finishes— tiles, wallpaper, paint, wood finishes, or natural stones. You decide. When you are done, click Save and Exit
  to see the wall in the overall model. If you want to change the finishes while viewing the entire model, select the Materials applicator and change the finishes in any area.
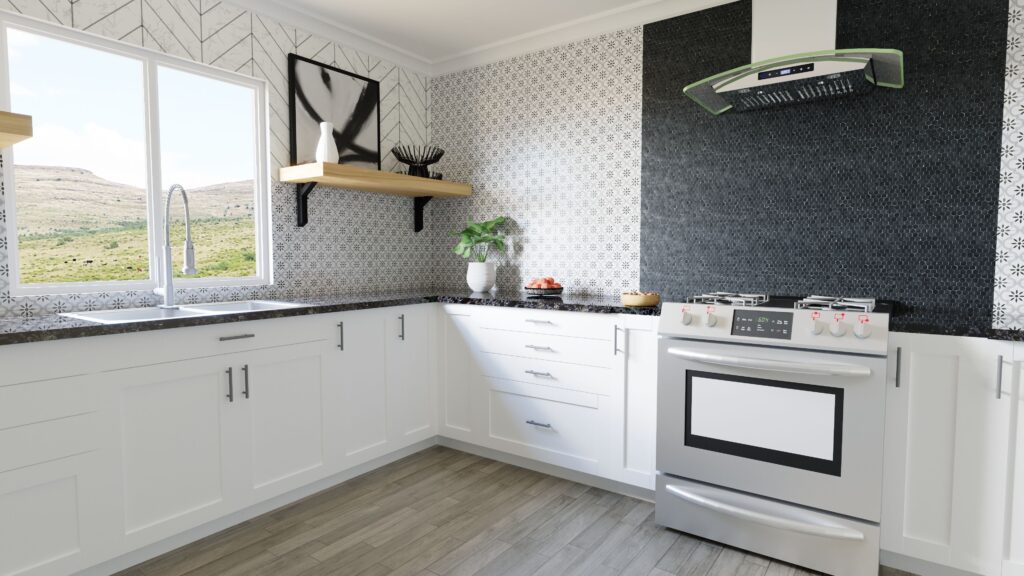
Using the MultiFinish tool, you can slice and dice any wall and beautify your models. Once you’ve completed the process, create a rendering of the design and send it to your clients.
Another great tool for Personal Architect Online Pro
The MultiFinish tool in Personal Architect Online allows you to divide a wall into separate regions, enabling the application of different finishes to various areas of the wall.
With the MultiFinish tool, you can easily customize and enhance your designs in Personal Architect Online.
